Waxing is more than an aesthetic decision; it’s an integral component of car care that helps safeguard its paint from UV rays, rainwater and road debris – helping your car retain its value over time.
Before beginning to wax your car, it’s essential that you have some essential tools on hand – including wax, microfiber cloth and a buffer.
1. Wash Your Car Thoroughly
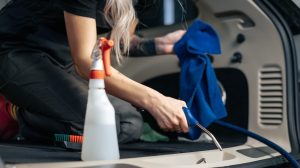
Before waxing your car, ensure it is both clean and dry – this will allow the wax to adhere more securely and for longer. Thoroughly wash and rinse all areas, paying special attention to hard-to-reach places like wheel arches. Be sure to use automotive-specific soap; regular household detergents could damage paintwork by stripping its paint surface of its protective layers, leaving behind spots and streaks behind.
Apply wax one section at a time using either a foam or microfiber applicator pad; alternatively, damp sponge can work just as effectively. Be sure to clean your applicator pad regularly in order to avoid smearing!
Always work in a cool and shaded area; direct sunlight may cause wax to set too quickly, making removal more challenging.
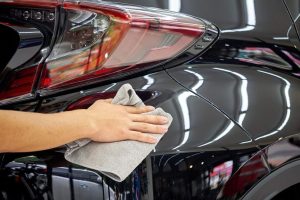
Once the wax dries to a dull haze, buff it away with a clean microfiber cloth. If any streaks remain, try spraying a mixture of water and rubbing alcohol onto them; this should eliminate them and shine up your paintwork. Please note that while car wax may reduce some light scratches and scuffs temporarily, deeper dents, chips, or cracks won’t be rectified by it and may require machine polishing or repainting instead.
2. Clay Bar
Clay bars are an indispensable tool for DIY car detailers. Their ability to penetrate deeply into paint pores without damage makes clay bar treatment an integral part of bodyshop services like installing ceramic coats, wax or sealants.
To use a clay bar effectively, first start by thoroughly washing and drying your car. Next, dampen a small section with clay bar lubricant before moving the clay bar along its surface until all areas feel smooth and even.
Once your car has been clay barded, it’s ready for polishing and waxing – but first make sure that its clear coat has been tested for contaminants by placing your hand beneath its clear coat in various spots and feeling for bumps or grit. If any are found, clay barding needs to take place.
An attractive finish on your vehicle will significantly boost its resale value, and one effective way of doing that is through performing a detailed clay bar treatment and then protecting its finish with quality car wax.
3. Seal Your Paint
Waxing protects the paint on your car by creating an invisible shield against environmental factors, such as rain, sun, air pollutants and bird droppings. Waxing makes your vehicle easier to clean while prolonging the clear coat’s longevity – both important elements in keeping its finish looking new for longer! However, proper waxing procedures are key if you want to avoid damaging its finish or leaving streaks behind. It is recommended to wax at least every two months in order to prevent damaging its finish or leaving streaks behind.
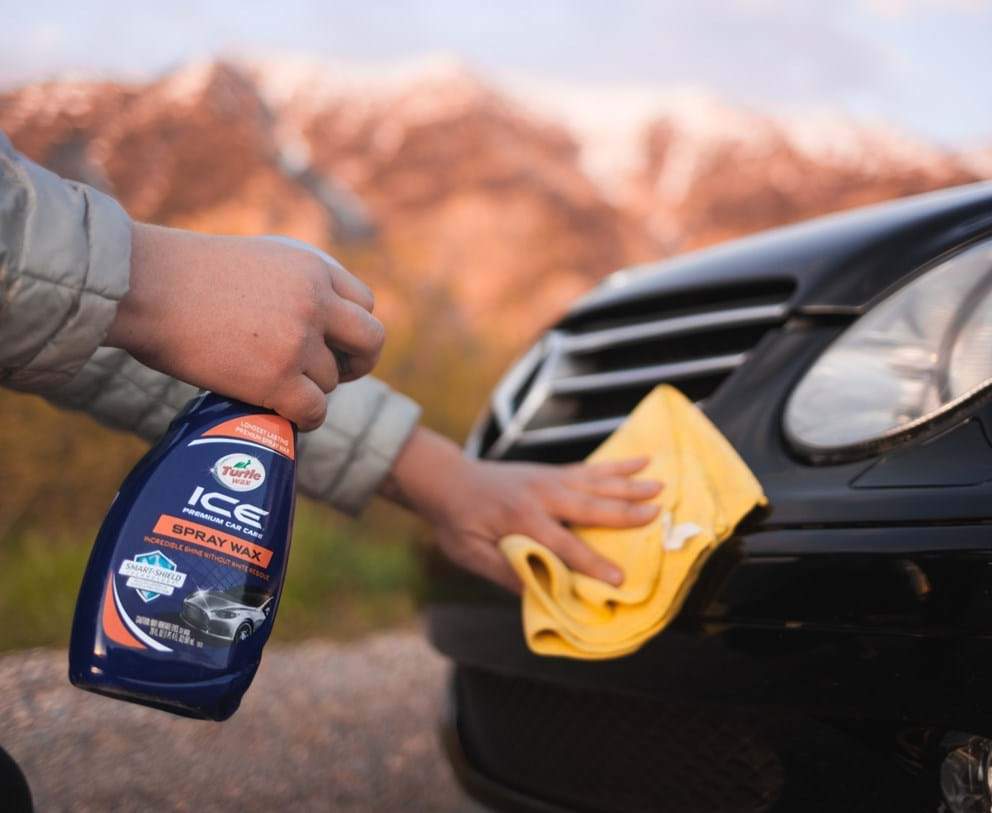
Start by applying wax sparingly, following the directions on its label. Apply it using a clean, dry sponge or cloth and rub it across small sections of your vehicle at a time; two foot wide areas, such as half of your hood are ideal. This allows you to keep track of where the product is while also keeping it from drying out too quickly.
Once the wax has set to a haze, use a soft cotton rag or sponge to buff away its residue using circular movements. A tack cloth should then be used to collect any residual dust before inspecting your work area for light residue patches. If any are present, lightly buff this area again by repeating these same circular motions.
4. Apply Wax
If you neglect to wax your car regularly, its protection and luster will quickly decline. When applying wax, be sure to follow manufacturer’s instructions with care; working in smaller sections prevents it from drying before you can buff it off.
Waxing properly will also increase the resale value of your vehicle, whether selling it directly to potential buyers or trading it into a dealership. A clean and well-protected finish will appeal to potential customers.
Once you’ve applied a thin coat of wax and allowed it to set (the exact time frame will depend on its application), remove it with a microfiber cloth or chamois in a circular motion using either microfiber cloths or chamois rags. Be sure to pay particular attention to hard-to-reach areas such as roof, rear-view mirrors, door edges and hard to reach roof corners; any time your cloth begins dragging, it indicates too much wax buildup has occurred and should be replaced immediately with fresh ones; keep going this until buffing until reaching desired sheen level!
5. Buff
waxing your car regularly is essential whether you want it to shine like new or are getting it ready for trade-in; waxing protects its paint from damaging sun rays, abrasive dirt particles and chemicals found in rain and snow, keeping its finish protected against damage and further wear and tear.
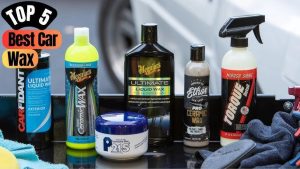
Selecting the ideal wax is essential to maintaining a car in its best condition, and natural carnauba wax offers optimal shine and protection. Available as either liquid or paste forms, apply thin coats of it onto your car surface until it dries to form a light haze before buffing to restore glossy sheen.
Now it’s time to stand back and admire your handiwork! Your showroom shine will make your car look its best while staying protected against environmental elements. Additionally, waxing it four times annually should keep it looking new for years.