In the world of car maintenance, achieving a shiny showroom finish is a goal for both dedicated car enthusiasts and regular drivers. There are many natural car waxes on the market, but making your own is not only fun, but also better for the environment. If you want to keep your car shiny and protect the environment at the same time, this article will show you how to make your own natural car wax.
Pros&Cons
Before you do it yourself, you should understand why natural car wax is better. Natural waxes, such as carnauba wax, are derived from plants and are superior to artificial waxes in many ways. They have a high shine, break down naturally, and are less likely to contain chemicals that are harmful to you. Overall, natural oils are better for the planet and better for your car. When you use natural car wax that you make yourself, you are choosing a sustainable option that shows that you care about the environment.
Ingredients
All you need are a few simple, easy-to-find items to make your own natural car wax. Carnauba wax comes from the leaves of the Brazilian palm tree and has a hard texture and is the main ingredient. This carnauba wax has a high melting point and longevity, making it a great choice for car care. In addition to carnauba wax, you will also need soft beeswax. The beeswax holds the wax together and gives it a nice shine. Finally, a carrier oil such as olive oil or coconut oil will help spread and soften the wax.
Work area
Making your own natural car wax can be fun and rewarding, but you need to make sure your work area is ready first. First, choose a clean, flat area where you can work comfortably. Lay down some scrap paper or a cloth to mop up any drips. Make sure that you have easy access to all tools and items. To melt the wax, you will need a double boiler or a bowl and pot that can be heated. You will also need a stir stick or spoon to stir the wax and a container to hold it in. Keeping everything organized will make the process faster and more fun.
Melting
Once your work area is ready, it’s time to melt the oil. Fill the bottom pan of a double boiler with water and bring to a boil. Place the beeswax and carnauba wax in the top bowl of a double boiler. Using a low heat will allow the oil to melt slowly without catching fire. Stir the mixture frequently with a whisk or spoon so that it melts evenly. It may take a while for the carnauba wax to melt completely, so be patient.
Carrier Oil
Once all of the wax has melted, you can add the carrier oil of your choice. This step is very important because it ensures that the wax is smooth and easy to apply. Adding one to three tablespoons of carrier oil to your melted wax mixture depends on the texture and quality you want. Stir well to ensure that it is well-blended. The base oil not only makes the paint easier to apply, but it also provides your car with a finish that will help it maintain its shine over time.
Mixture cool
Once all of the ingredients are thoroughly mixed, remove the mixture from the heat and let it cool slightly. As the wax cools, it will begin to thicken. While the mixture is still warm and liquid, pour it into a container of your choice. You will need to work quickly during this step, as the wax will begin to harden as it cools. You can store items in small jars, cans, or other sealable containers. Let the wax cool completely at room temperature.
Use
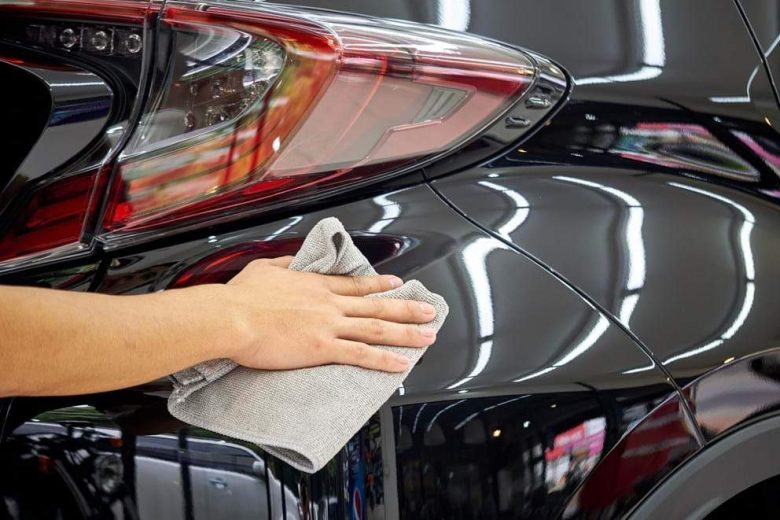
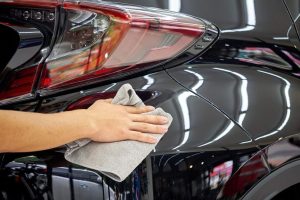
The next step to getting a glossy shine is to use homemade, natural car wax. First, wash and dry your car to remove dirt and grime. To prevent the wax from melting too quickly, it is best to apply the wax on a cool, dry day. The wax can be applied in a thin, even layer using a soft, clean microfiber cloth or applicator pad. To polish the wax into the paint, work on a small area and move your hands in circular motions. This method not only ensures even coverage, but also results in a better shine when buffing.
Working
After the wax has been applied, let it cure for 15 to 30 minutes. During this time, the wax will harden and bond better to the paint. Curing time will vary depending on humidity and weather, so pay attention to the conditions. Once the time is up, use another clean microfiber cloth to polish the surface to a high gloss. The final step of rubbing is very important because it removes excess wax and makes your car shine even more.
grime won’t be able to build up and dull the shine over time. You could also use a quick detail spray after washing to keep the shine going between waxing sessions. This can help bring out the shine and make your natural car wax last longer.
Natural Homemade
Car Wax How you store your homemade natural car wax is very important for making sure it lasts and works well. Keep the wax somewhere cool and dry, out of direct sunlight and away from very hot or cold conditions. If you made a lot, you might want to divide it up into smaller packages to make it easier to use and lower the chance of contamination. Make sure the lids are always tightly closed so that moisture doesn’t get in and change the structure and performance of the wax over time.
Eco-friendly
One way to care for your car in a more eco-friendly way is to use natural car wax that you make yourself. You might want to look into using other natural items to clean and take care of your car. As an example, vinegar and baking soda are great options that can be used to clean windows and furniture. Using microfiber cloths instead of paper towels can also help the world by cutting down on waste. By doing these things, you can make a complete eco-friendly car care routine.
Wrap up
Happy with the Results Not only is it fun to make and use natural car wax yourself, but it also helps you live a more environmentally friendly life. You can be sure that the natural, safe ingredients you use to make your own car wax will protect the finish of your car and be good for the earth. Making your own wax will give your car a shiny finish that will not only look great but also make you feel good about what you’ve done. Enjoy the results of your hard work, and be proud that you chose a road that is good for the environment and your car.