Waxing your car protects its paint against environmental damage, creating an attractive showroom-ready finish. It is an integral step towards reaching this goal.
An effective waxing kit requires the following items: high-quality wash mitt, bucket for mixing car soap, clay bar to remove contaminants embedded into the paint surface, brush to reach hard-to-reach areas, microfiber towels for easy clean-up and dedicated wax applicator sponge for ease of cleanup.
1. Over-waxing
Waxing serves two primary functions for car owners. First, it enhances the color and gloss of their paint job to give it that showroom-ready appearance, while also acting as a protective shield against dirt accumulation and damaging UV rays that could eventually destroy its finish and clear coat over time.
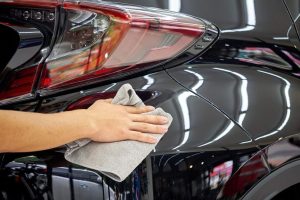
Follow the recommended procedure when DIY car waxing to achieve a streak-free shine. Auto detailing experts generally agree that applying an even coat of thin wax in circular motions until it hazes over is ideal; finally wiping off excess wax using a clean microfiber towel should never be skipped as using dirty sponges or towels with residue can leave swirl marks on the paint’s surface.
It is essential that the appropriate type of wax be chosen based on your vehicle’s paint condition. A heavy-duty car wax designed for older or severely oxidized paint may leave an unattractive dark patch when used on newer, clear coat paint, which could potentially leave dark and uneven spots behind when applied incorrectly. A professional can assist you in selecting appropriate products for your vehicle’s paint situation.
2. Applying Wax Around Plastic Trim Pieces or Rubber Seals
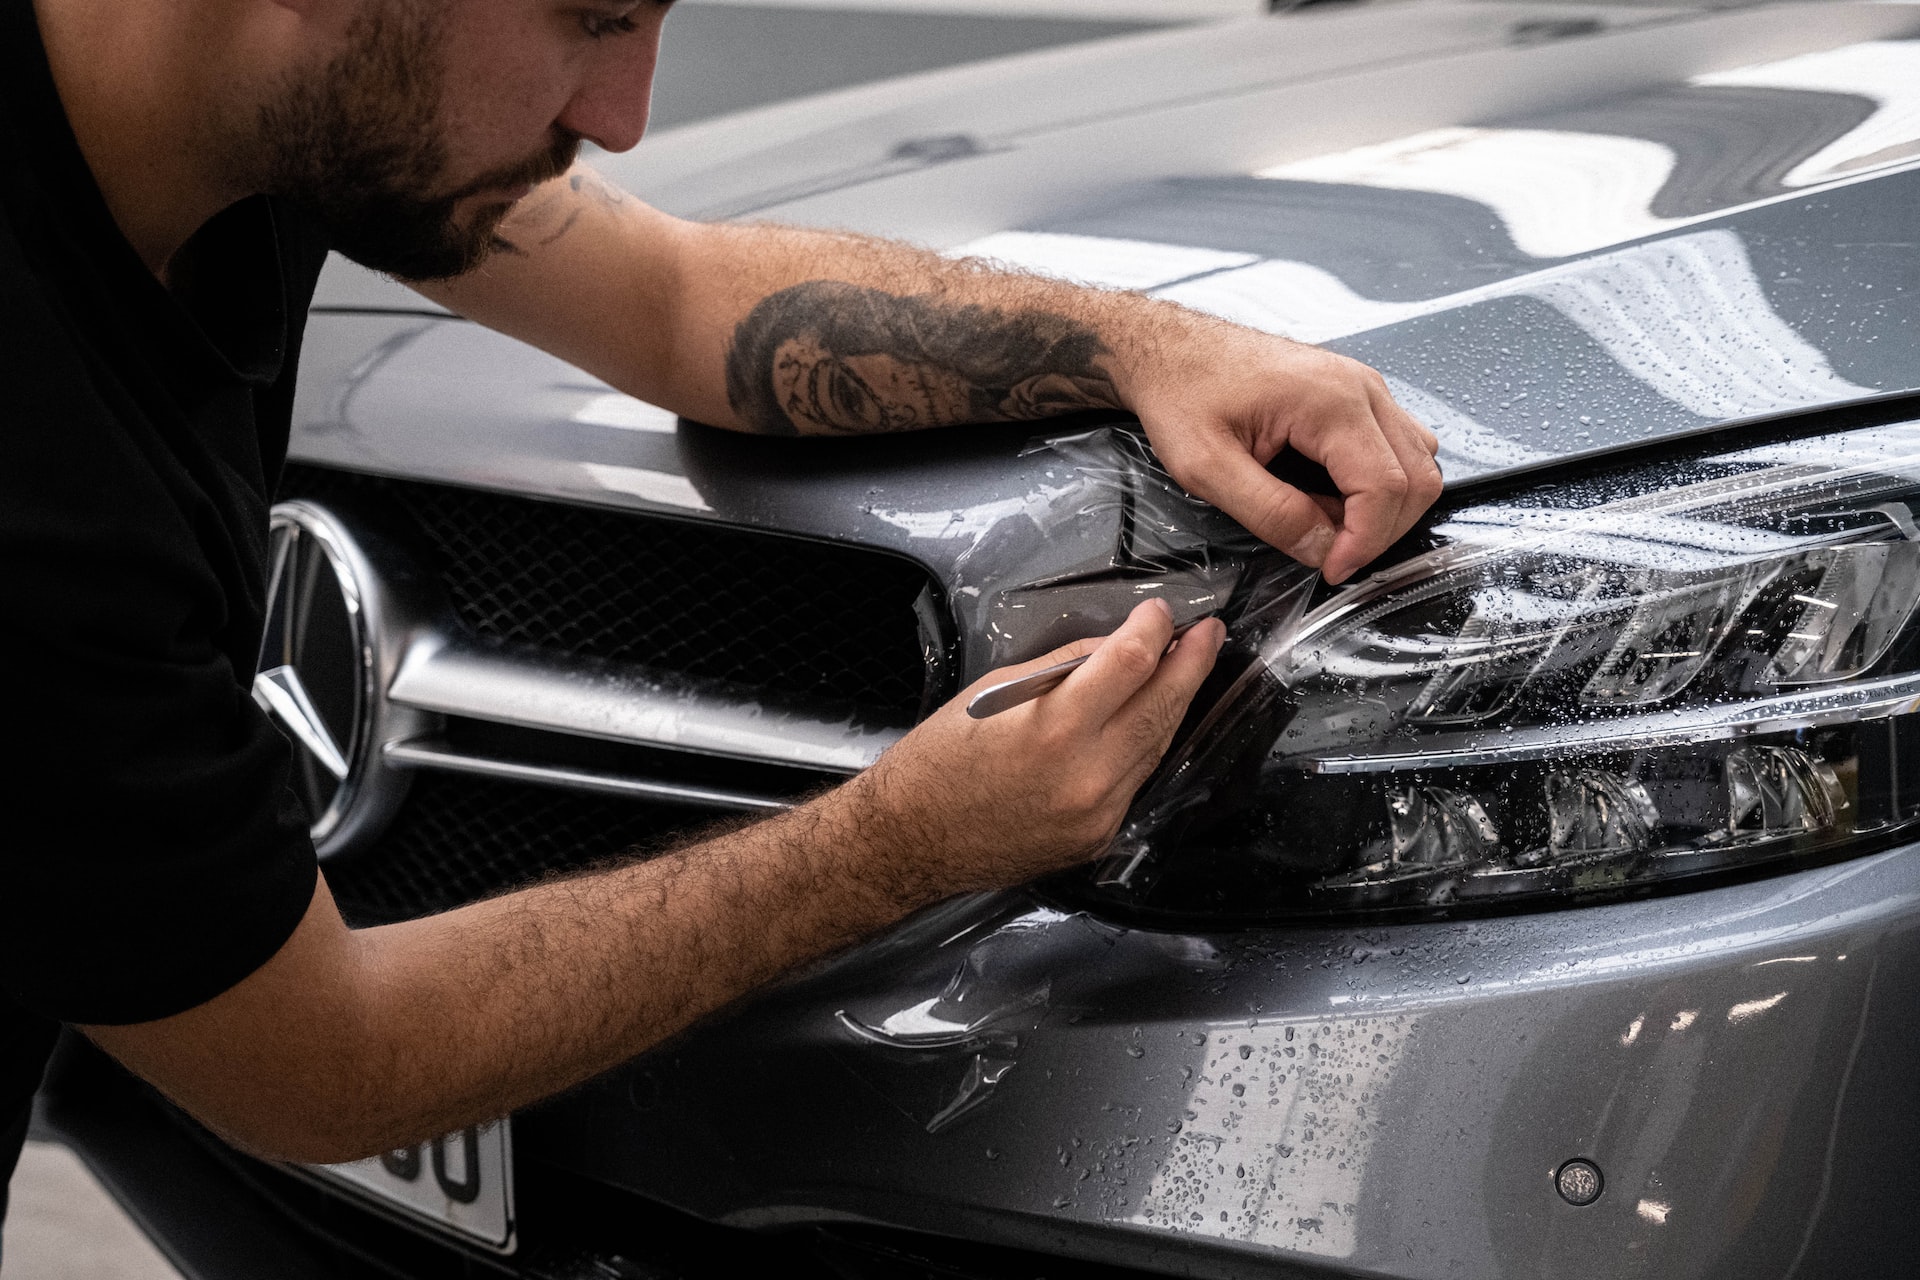
Many drivers mistakenly apply wax around the plastic trim pieces or rubber seals on their car, which can result in unwanted build-up of residue, an oily appearance or even paint damage.
Instead, opt for a special plastic cleaner which can easily be found at most automotive stores.
Plastic cleaner is an invaluable way to extend the look of new surfaces for much longer than just washing alone, such as door or bumper moldings, which should be protected with rubber and vinyl protectant to help avoid scratches or dulling over time.
Wax should not be applied when the paint of a vehicle is heavily soiled or contaminated as this can trap dirt particles beneath and scratch its surface. Direct sunlight should also be avoided to avoid premature drying of wax that makes buffing off more difficult; shade and cooler temperatures can make this process simpler.
3. Pouring Liquid Wax or Polish Directly on the Car’s Surface
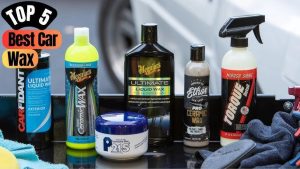
If you plan to apply liquid wax by hand, it is crucial to follow the manufacturer’s instructions precisely. High-quality car waxes often contain natural carnauba and synthetic polymers that help prolong their longevity and shine; the best way to utilize such products is with an applicator pad cleanly covered in wax; once it dries into a haze state, wipe off with either microfiber or cotton buffing cloth and make sure all areas have been fully protected with shine! Check from all angles that all wax has been removed before proceeding further with cleaning up with cotton buffing cloth – be sure that all angles ensure all angles have been covered and paint protected with protection!
Waxing a car is more than a mere aesthetic concern – it also serves to protect its paint against harsh UV rays and road grime, helping preserve resale value and possibly even gain you a higher trade-in price when selling or buying another vehicle. Take care to properly care for your paint job with high-quality products such as those offered by Detailing Express!
4. Over-wetting the Car’s Surface
Car waxing is an integral component of keeping your paint protected and looking showroom-ready. Applying high-quality luster wax will bring out its color and shine while providing protection from contaminants – but be mindful that success depends on having a fully clean, dry vehicle before beginning.
Even after you have thoroughly washed and allowed your car to air dry, there will still be dust particles floating through the air that adhere to its painted surface. When trying to wipe them away without water, micro scratches may result.
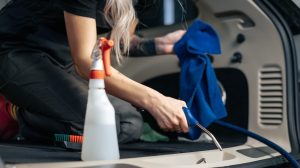
To avoid this scenario, be sure to roll up your windows and move your car into an enclosed area as soon as you finish washing. Use a shop vac to gather up as much excess water from hard-to-reach places such as cupholders and door panels; after doing so, it’s advisable to disinfect these surfaces to eliminate germs.
5. Applying Wax After a Wash
Car waxing not only adds a beautiful luster to the paint job on your vehicle, but it can also provide lasting protection. However, without proper caution during waxing process you could end up damaging its finish or creating streaks which are difficult to remove later on. To prevent such mistakes follow these steps when applying gloss wax to your vehicle.
Before waxing your car, ensure it is completely dry. Even the slightest amount of moisture could thwart its adhesion to its paint surface and be detrimental to wax adhering evenly. Furthermore, try waxing in a shaded area where direct sunlight won’t hit; heat from direct sunlight could bake the wax onto its surface making removal nearly impossible.
Be sure to regularly clean your wax applicator. Old, dry wax can accumulate debris that may scratch up your car’s paint; to avoid this happening, use a mild cleaner such as dish soap diluted in water to flush away unwanted debris from your applicator sponges and keep them free of unwanted build-up.